Lapron Fashion
New member
How to Design and Craft a Functional Leather Blacksmith Apron
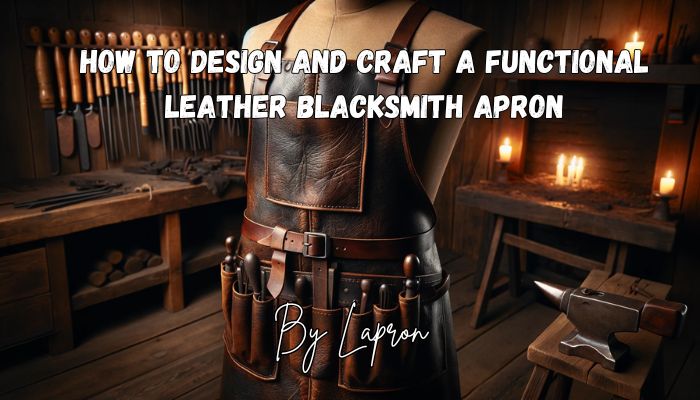
Crafting a functional leather Blacksmith Apron involves meticulous planning and a keen eye for detail. This guide will lead you through the entire process ensuring that your apron is not only stylish but also serves its purpose in the tough environment of blacksmithing.
Materials Selection
Choosing the Right Leather: The first step is selecting the right type of leather. Full Grain leather is most recommended due to its durability and resistance to wear and tear. It withstands the harsh conditions of metalwork and offers superior protection.Other Essential Materials: Besides leather you'll need strong heat resistant thread metal buckles for adjustable straps and possible rivets for added strength. Select materials that can endure high temperatures and frequent use.
Design Planning
Assessing Needs: Start by assessing the specific needs of your blacksmithing activities. What tools do you often use? How much mobility do you need? Your answers will influence the apron's design.Sketching the Design: Create a detailed sketch of the apron including the placement of pockets, straps and protective layers. This visual guide will serve as your blueprint throughout the crafting process.
Cutting the Leather
Creating Templates: Use your design sketch to create paper templates. These will guide you in cutting the leather accurately ensuring all parts fit together seamlessly.Cutting Techniques: Use a sharp utility knife or leather shears for cutting. Work on a flat stable surface to achieve clean straight cuts. Remember precision here is key to how the pieces will align during assembly.
Adding Reinforcements
Strategic Reinforcement: Areas subject to stress such as pocket openings and strap attachments need reinforcement. Adding small leather patches or using double layers can significantly enhance durability.Using Rivets and Buckles: Install metal rivets at high stress points. Buckles should be attached securely as they will be adjusted frequently for fit.
Sewing Techniques
Choosing the Right Stitch: Opt for a saddle stitch or a machine stitch that can handle thick layers. Ensure your sewing machine is equipped for leatherwork.Sewing Best Practices: Use a leather needle and nylon or polyester thread. Maintain even stitching for both aesthetics and strength.
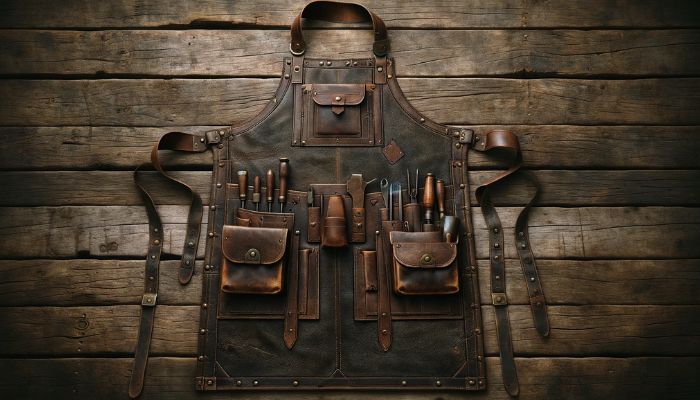
Custom Features
Personalizing Your Apron: Consider custom features that enhance functionality such as a hammer loop, an insulated pocket for hot tools or an adjustable back strap for comfort.Design for Efficiency: Place pockets and loops strategically to ensure tools are easily accessible enhancing workflow efficiency.
Finishing Touches and Maintenance
Applying Finishes: Apply a leather conditioner to keep the apron supple. A water resistant finish can also protect against moisture and dirt.Routine Care: Regular maintenance includes cleaning the leather with a soft cloth and periodic conditioning. Store the apron in a cool dry place to prevent mold and stiffness.
Conclusion
Designing and crafting a functional Leather Blacksmith Apron is a rewarding project that combines creativity with utility. By following these steps you'll create an apron that not only protects but also enhances your blacksmithing practice. With the right care this apron will serve you well for years becoming an essential part of your crafting arsenal.FAQs
- What is the best leather for a blacksmith apron?
- Can I use synthetic materials for the apron?
- What tools are needed to make a leather apron?
- How do I ensure the apron fits?
- How can I personalize my apron?
- How do I maintain my leather apron?